The Death of .Net Framework

So I have had a bit more time since all the coronavirus stuff has started. Therefore I have been reading a bit more and trying to get back up to date with what is happening in the world of .NET. So the main thing that I have found out is that .Net Framework dies with version 4.8. Of course it will be supported for a while yet, therefore legacy projects don’t need to be converted to .NET 5.

The main real change is that .NET Core and .NET Framework are converging, and therefore everything should work everywhere. This is kind of exciting, however due to the small changes it does mean that any project that is currently still being written / maintained should be considered as needing to be converted across. I understand that there is quite a time between now and when it no longer is supported, however knowing that some projects have multiple dependencies, and shed loads of places it can all go wrong, I advise to plan, plan, plan some more and then cautiously start to sort out dependencies and slowly get the ball rolling – else it will sneak up on us all and we will soon find that we need to run some old version of windows to keep something critical working!

You can see all the details here https://devblogs.microsoft.com/dotnet/introducing-net-5/ I plan to write more, once I start playing a little more with it all.

The Death of .Net Framework Read More »

Time flies

It’s been a while since my last post. I know I wanted to try and make it weekly, however the last month seems to have just disappeared. I have just been a bit busier in my personal life, meaning that I haven’t had the time to devote to my programming exploits. The last week I have had a bit more time to myself – so hopefully this will continue.

So this week I have been working on showing the events on a calendar. The first thing that we have to do is to get the Blazor to run the code on the page load, thus we need to override the OnInitialized method.

protected override void OnInitialized()
{
    // code here.
}

Once we have this within our page, we can then get the system to talk to the database and load up events. As this is the first view, I want to try and make a month view. Ultimately it will end up looking like the following:

This should be easy enough… or at least they were my first thoughts. The first thing you need to know about Blazor is that you cant do something like the following:

if(x == 0) {
    <div>
} else if (x== 9)
{
    </div>
}

It just doe not like you doing it. Therefore to combat this I have had to have a Model that reflects a month, with weeks and then days, rather than just having a list of days that we iterate through. This then leaded me down the path that to begin with we needed to know the first day of a week and the last day of the week. Therefore to do this I needed to make an extension method, this allows us to call it just as if it were apart of the DateTime object (as long as the namespace is imported)

using System;

namespace uk.plingo.shift.core.extensions
{
    public static class DateTimeUtility
    {
        public static DateTime WeekStart(this DateTime datetime)
        {
            var dayOfWeek = datetime.DayOfWeek;

            // weeks start on a Monday, not on a Sunday, therefore we have to do something 
            // special when the day of the week is sunday, as we want to go back to the previous Monday
            // and not to the following day.
            int daysToGoBack;
            if(dayOfWeek == DayOfWeek.Sunday)
            {
                daysToGoBack = -6;
            } 
            else
            {
                daysToGoBack = -(int)datetime.DayOfWeek + (int)DayOfWeek.Monday;
            }


            return datetime.AddDays(daysToGoBack);
        }

        public static DateTime WeekEnd(this DateTime datetime)
        {
            return datetime.WeekStart().AddDays(6);
        }
    }
}

Now we have this we can get the 1st day of the month, find out which week it is in and iterate until the last day of the month. Each time we iterate we check for events on that day and load them into our model. Once this is done, we can set the model object on the page. This therefore means that we can then iterate through to build up the html on the screen.

        <table class="calendar-month">

            <thead>
                <tr>
                    <td>Monday</td>
                    <td>Tuesday</td>
                    <td>Wednesday</td>
                    <td>Thursday</td>
                    <td>Friday</td>
                    <td>Saturday</td>
                    <td>Sunday</td>
                </tr>
            </thead>

            @foreach (Data.Models.WeekModel week in MonthModel.Weeks)
            {
                <tr>

                    @foreach (Data.Models.DayModel day in week.Days)
                    {
                        // whether or not to add in any additional classes.
                        var isDisabled = day.Date.Month == MonthModel.MonthNo ? string.Empty : "disabled";
                        var isCurrentDay = day.Date.Date == DateTime.Now.Date ? "current" : string.Empty;
                        
                        
                        <td class="calendar-day @isDisabled @isCurrentDay">
                            <div>
                                <div class="calendar-date">@day.Date.Day</div>
                                @foreach (Data.Models.EventModel eventModel in day.Events)
                                {
                                    <div class="event"><div class="event-start">@eventModel.Start.Hour:@eventModel.Start.Minute</div>@eventModel.Name</div>
                                }
                            </div>
                        </td>
                    }
                </tr>
            }

        </table>

Now we have this, we want to move between each month, as we have done the majority of the work, we can refactor our code, so that we have a method that gets the Model for a certain month, then we can call into this.

 <button class="btn btn-default" @onclick="Backward"><i class="fas fa-chevron-left"></i></button>
protected void Forward()
    {
        var forwardMonth = MonthModel.Start.AddMonths(1);
        SetupMonth(forwardMonth.Year, forwardMonth.Month);
    }
protected void SetupMonth(int year, int month)
    {

        MonthModel = new uk.plingo.shift.blazor.Data.Models.MonthModel();
        MonthModel.YearNo = year;
        MonthModel.MonthNo = month;
        MonthModel.Start = new System.DateTime(MonthModel.YearNo, MonthModel.MonthNo, 1);
        MonthModel.End = MonthModel.Start.AddMonths(1).AddDays(-1);
        MonthModel.Weeks = new List<uk.plingo.shift.blazor.Data.Models.WeekModel>();

        MonthModel.Weeks = new List<uk.plingo.shift.blazor.Data.Models.WeekModel>();

        DateTime currentDate = MonthModel.Start.WeekStart();
        while (currentDate <= MonthModel.End)
        {
            var weekDate = currentDate.WeekEnd();
            WeekModel weekModel = new Data.Models.WeekModel();
            weekModel.Days = new List<DayModel>();

            while (currentDate <= weekDate)
            {
                uk.plingo.shift.blazor.Data.Models.DayModel dayModel = new Data.Models.DayModel();
                dayModel.Date = currentDate;
                dayModel.Events = GetEvents(currentDate);

                weekModel.Days.Add(dayModel);

                currentDate = currentDate.AddDays(1);
            }

            MonthModel.Weeks.Add(weekModel);
        }

    }

    protected IList<EventModel> GetEvents(DateTime date)
    {
        using (new EntitySession(Database, EntitySession.SessionState.Readonly))
        {
            return Database.CalendarDao.GetCalendarsByDate(date)
                .ToEventModel()
                .ToList();
        }
    }

With all this we can now go forward and backward on the page, and see the events on a month view. It’s by no means perfect at the moment, but in the next few weeks the code should get more efficient.

Time flies Read More »

Blazor & Input Forms

This week, I started to look at creating input forms. To be honest I thought it was going to be a lot more difficult to do then it was. The first thing to know is that you need a model of the data you want to show. From this, we can then use it on the page. This is just like MVC really, however, as the code is all on the page, you can have multiple models on the same page. So let’s create our model:

using System;
using System.Collections.Generic;
using System.ComponentModel.DataAnnotations;
using System.Linq;
using System.Threading.Tasks;

namespace uk.plingo.shift.blazor.Data.Models
{
    public class EventModel
    {
        public string Name { get; set; }
    }
}

Now this has been created, we need to do a couple of things:

  1. Insatiate out model
  2. Declare the model that we are going to use
  <EditForm Model="EventModel">
            <div class="form-group">
                <label for="EventModel-Name">Name</label>
                <InputText @bind-Value=EventModel.Name ParsingErrorMessage="Please enter an event name" class="form-control" id="EventModel-Name" />
            </div>
</EditForm>


@code {
    [Parameter]
    public EventModel EventModel { get; set; } = new EventModel();


    private void Save()
    {
       var name = EventModel.Name;

       // do something...
        }
}

That is it to be honest. There are a couple of things you will notice:

  1. You need to use an EditForm which is essentially how to start a form. You also declare the model you are using within this.
  2. InputForm is used instead of a standard HTML input.

It can be quite easy to get errors if you do not create a new instance of the model, or declare the model in the edit form.

Blazor & Input Forms Read More »

Entity Framework Core

This week I have been trying to work out why the console app I wrote worked with entity framework, however my Blazor application didn’t. This lead to a long trail of searching through the Internet only to find out that the Blazor app uses the Entity Framework Core, whilst the rest of the code referenced Entity Framework. See the mistake? Thus I have spent the couple of hours I have each week to do this project to change so that the whole solution uses Entity Framework Core.

The main changes were the usings namespaces. Other than that I also had to set the options and change one or two model building bits and pieces. Rather than just giving a rundown of the changes, lets just dig into how the code now stands….

The Mapping File

The mapping file now has the “ToTable” added into the mapping. This is as the Entity is “Calendar” yet the table name is “Calendars”. We have also changed some of the usings.

using Microsoft.EntityFrameworkCore;
using Microsoft.EntityFrameworkCore.Metadata.Builders;
using uk.plingo.shift.core.entities;

namespace uk.plingo.shift.data.entity.mapping
{
    public static class CalendarMapping
    {
        public static void Map(EntityTypeBuilder<Calendar> builder)
        {
            builder.ToTable("Calendars");

            builder.Property(c => c.EventName)
                .IsUnicode(false);

            builder.Property(c => c.EventNotes)
                .IsUnicode(false);

            builder.Property(c => c.Status).IsRequired();
        }
    }
}

Entity Session

There are a few main changes in this part of the document;

  • We have had to add in “OnConfiguring”
  • The method declaration of “OnModelCreating” has changed
  • Added additional namespaces

We have also had to add in some missing nuget packages:

  • Microsoft.Extensions.Configuration.FileExtensions
  • Microsoft.Extensions.Configuration.Json
  • Microsoft.EntityFrameworkCore.SqlServer

These give us some additional methods which allow us to read the configuration files, and the UseSqlServer options method.

using Microsoft.EntityFrameworkCore;
using Microsoft.Extensions.Configuration;
using System;
using System.Collections.Generic;
using System.IO;
using uk.plingo.shift.core.entities;
using uk.plingo.shift.core.interfaces;
using uk.plingo.shift.core.interfaces.database;
using uk.plingo.shift.core.interfaces.entities;
using uk.plingo.shift.data.entity.mapping;

namespace uk.plingo.shift.data.entity
{
    public class EntitySession : DbContext, ISession, IDisposable
    {
        private IDatabase _dao;

        public enum SessionState
        {
            SaveCanges,
            Readonly
        }

        private readonly SessionState _sessionState;

        public EntitySession(IDatabase daoFactory, SessionState sessionState, DbContextOptions options) : base(options)
        {
            _dao = daoFactory;
            _sessionState = sessionState;

            _dao.SetSession(this);
        }

            public EntitySession(IDatabase daoFactory, SessionState sessionState) : base()
        {
            _dao = daoFactory;
            _sessionState = sessionState;

            _dao.SetSession(this);
        }

        protected override void OnModelCreating(ModelBuilder modelBuilder)
        {
            base.OnModelCreating(modelBuilder);

            CalendarMapping.Map(modelBuilder.Entity<Calendar>());
            EventTypeMapping.Map(modelBuilder.Entity<EventType>());
        }

        public override void Dispose()
        {
            // if we are monitoring changes, then this will
            // allow us to automatically save the changes... as why wouldn't we!
            if (_sessionState == SessionState.SaveCanges)
            {
                SaveChanges();
            }

            _dao.ResetSession();
            _dao = null;

            base.Dispose();
        }

        public virtual IEnumerable<T> CreateQuery<T>() where T : Entity
        {
            if (_sessionState == SessionState.Readonly)
                return this.Set<T>().AsNoTracking();
            else
                return this.Set<T>();
        }

        public T AddOrUpdate<T>(T item) where T : Entity
        {
            if (_sessionState == SessionState.SaveCanges)
            {
                T foundItem = default(T);

                // the id should always be greater than 0.
                if (item.id > 0)
                {
                    foundItem = Set<T>().Find(item.id);
                }

                if (foundItem == default(T))
                {
                    //INSERT
                    foundItem = Set<T>().Add(item).Entity;
                }
                else
                {
                    //UPDATE
                    foundItem = item;
                }

                return foundItem;
            }
            else
            {
                return item;
            }
        }

        protected override void OnConfiguring(DbContextOptionsBuilder optionsBuilder)
        {
            if (!optionsBuilder.IsConfigured)
            {

                IConfigurationRoot configuration = new ConfigurationBuilder()
                    
                   .SetBasePath(Directory.GetCurrentDirectory())
                   .AddJsonFile("appsettings.json")
                   .Build();
                var connectionString = configuration.GetConnectionString(nameof(EntitySession));
                optionsBuilder.UseSqlServer(connectionString);
            }
        
            base.OnConfiguring(optionsBuilder);
        }
    }
}

After those changes, the change to the code was complete!

Other Alterations

I have also been messing with the Entity file itself – I wanted to make sure that I could link to other entities. This was a lot easier than I thought. In the code snippet below you will see that we now have an “EventTypeId” field. This is the id of the “EventType” however we also have a virtual EventType property, which holds the actual entity. This is all that I needed to do (other than add the relationship in the database) to get this to work.

using System;
using uk.plingo.shift.core.interfaces.entities;

namespace uk.plingo.shift.core.entities
{
    public class Calendar : Entity
    {
        public string EventName { get; set; }
        public string EventNotes { get; set; }
        public DateTime EventDateTime { get; set; }
        public int? EventDuration { get; set; }

        public int EventTypeId { get; set; }
        public virtual EventType EventType { get; set; }
    }
}

Entity Framework Core Read More »

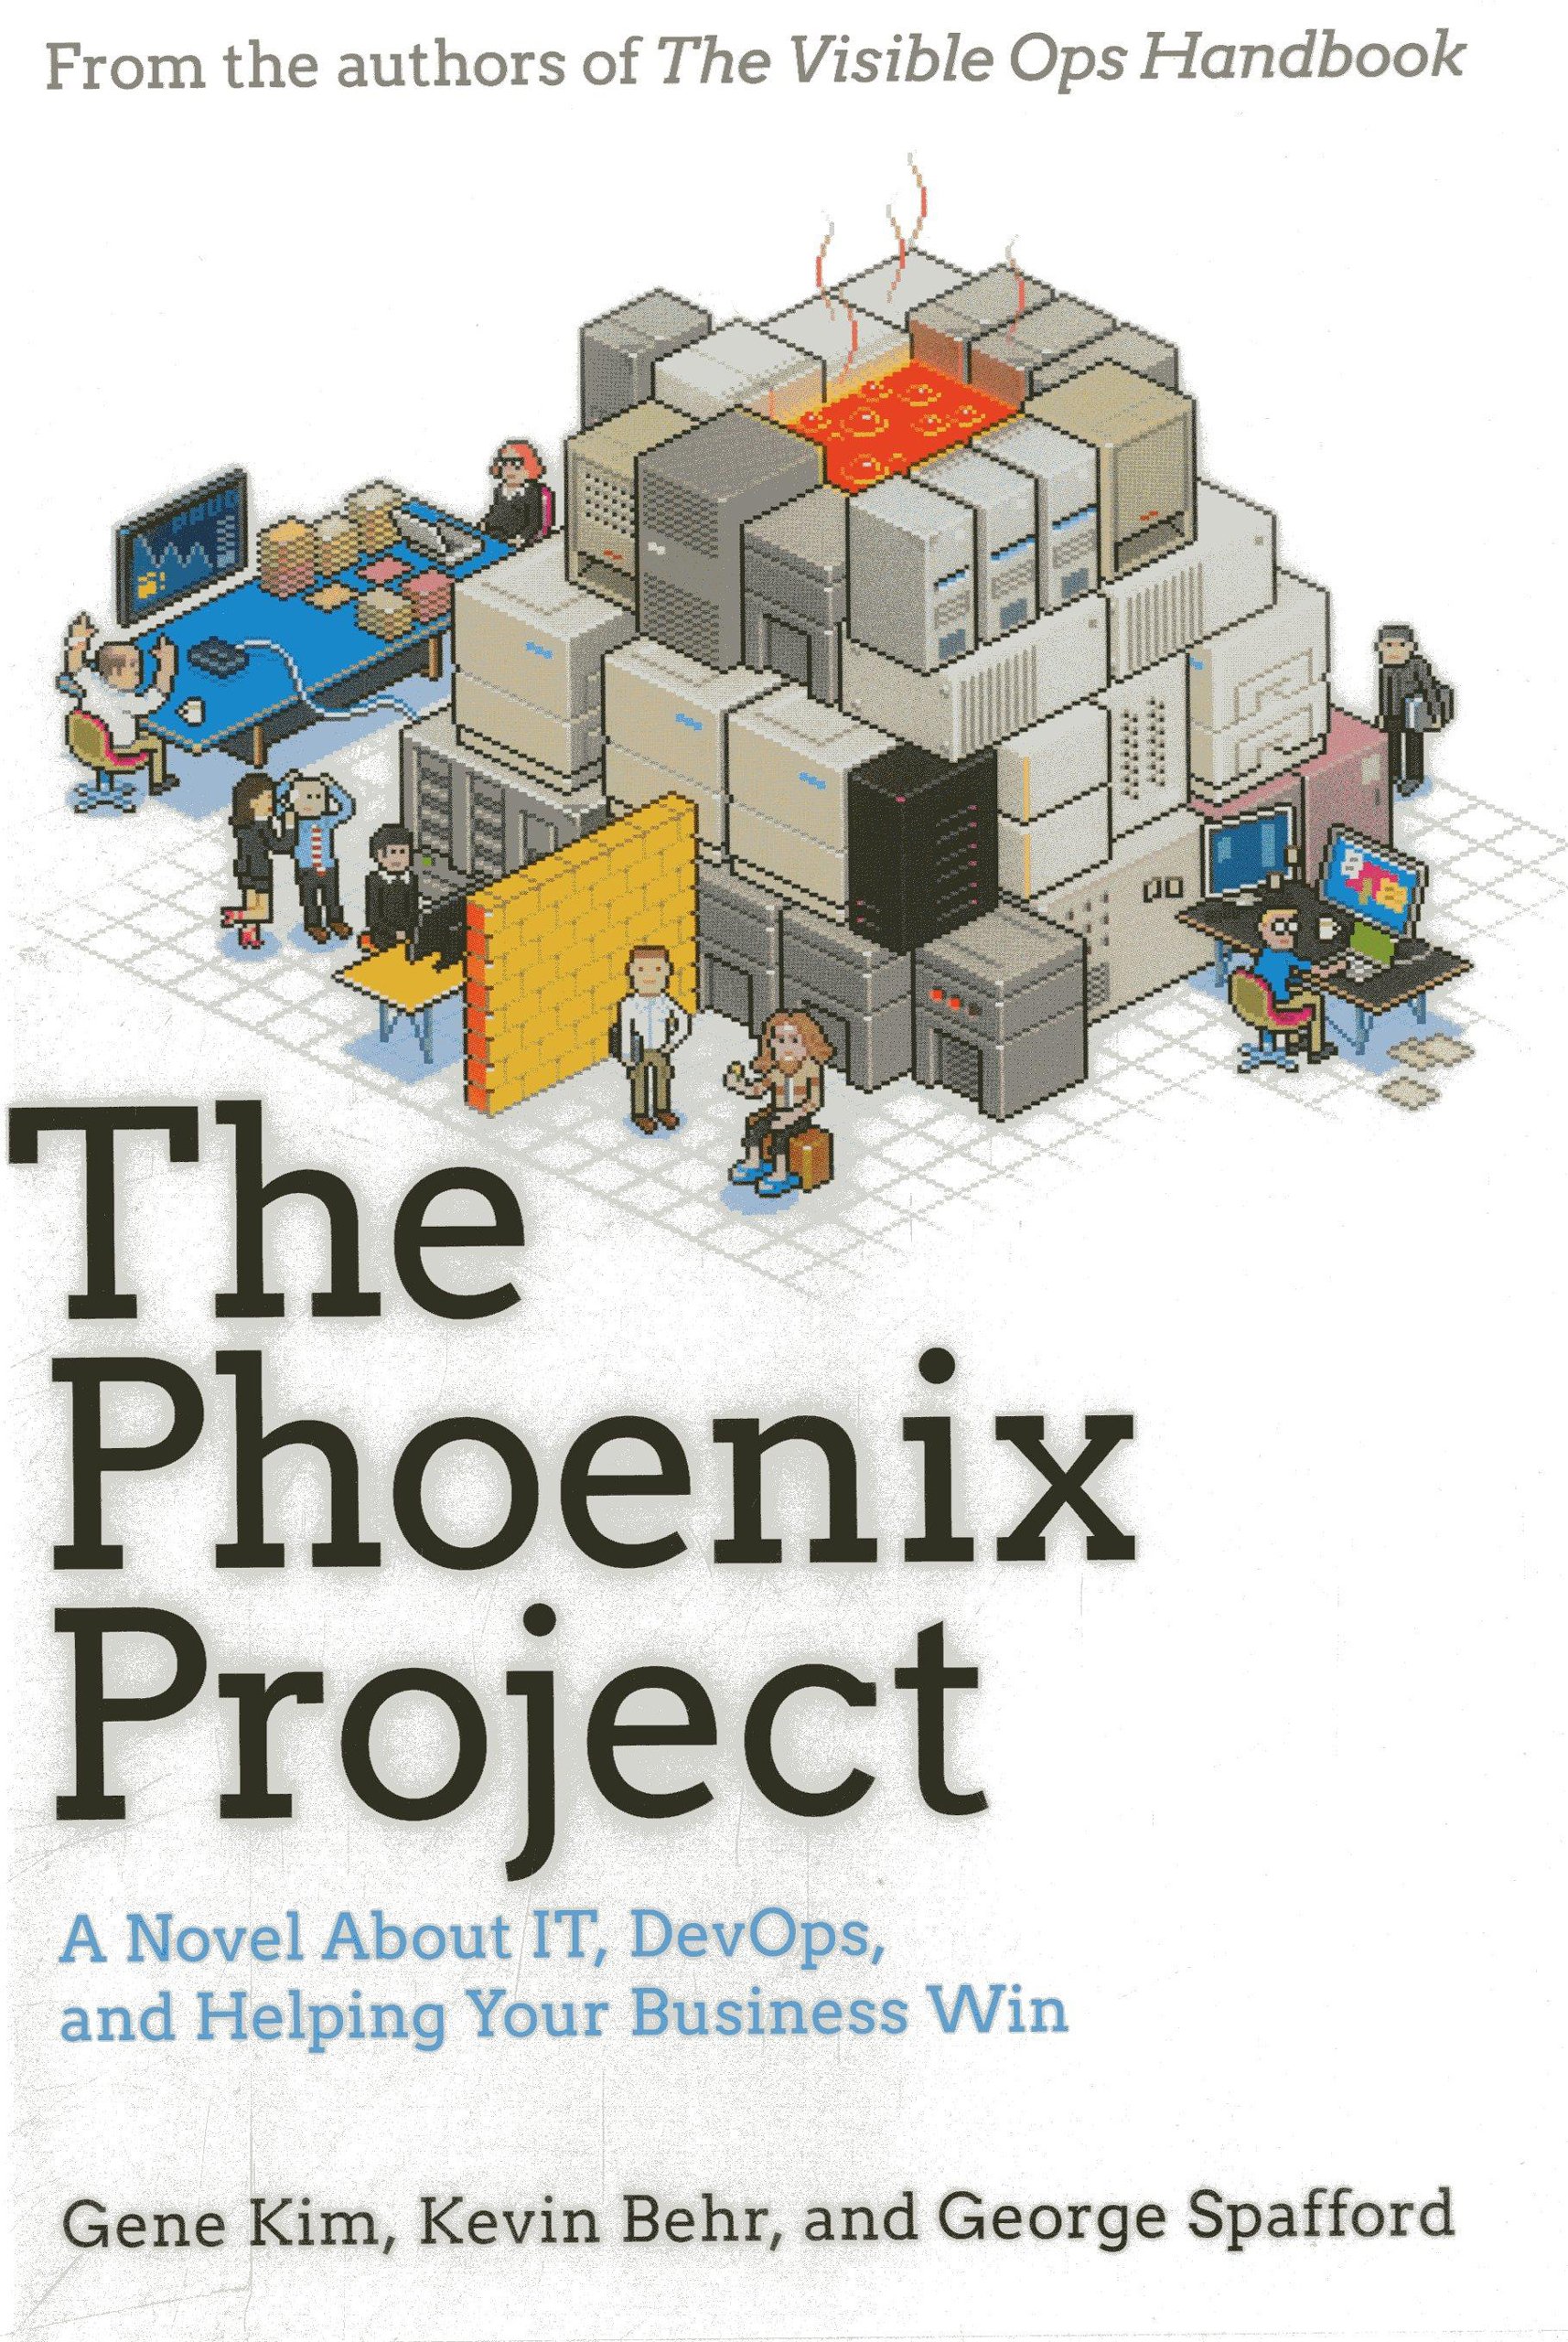
Book of the Week | The Phoenix Project

I have had a slight diversion this week, I was suggested a book called “The Phoenix Project” and strangely enough, for me at least, I actually sat down and read the whole thing in a few days. (Normally I start and then take 6 months to get halfway through – at least in the last 10 years anyway!)

Its essentially follows the story of a man who is put in charge of IT Operations and what happens. If you are interested in managing projects, people or just think you want a read, I suggest it. It isn’t a ‘normal’ text book that is dry and dull, it is a story and essentially explains continuous deployment, among other things!

Book of the Week | The Phoenix Project Read More »

Blazor & Databases

So, I am back to the project again, as I have had a little bit more time again. So this week I have looked at how to access the database within Blazor, and update the database. To be honest, it was a lot easier than I had expected!

So the first thing that we need to do is to add the database link as service: (we do this within our “startup” file:

// create all the database- stuff.
EntityDatabase entityDatabase = new EntityDatabase();
services.AddSingleton<IDatabase>(entityDatabase);

Then we need to tell the page that we want to have this “injected” into our page, to do this we use the inject keyword:

@page "/"
@inject plingo.shift.core.interfaces.IDatabase Database

So we can then use this within the file, to test all this, I have just shoved it into the “counter” method. Here is the example

@page "/"
@inject plingo.shift.core.interfaces.IDatabase Database

@using plingo.shift.data.entity; 
@using plingo.shift.logic;
<h1>Counter</h1>

<p>Current count: @currentCount</p>

<button class="btn btn-primary" @onclick="IncrementCount">Click me</button>

@code {
    private int currentCount = 0;

    private void IncrementCount()
    {
        using (EntitySession entitySession = new EntitySession(Database, EntitySession.SessionState.SaveCanges))
        {
            CalendarLogic calendarLogic = new CalendarLogic(Database);
            var calendarEvent = calendarLogic.CreateCalendarEvent("Example", "event notes", DateTime.Now, 60, 1);
            entitySession.SaveChanges();
            
            currentCount = calendarEvent.id;
        }
    }
}

That is it – I know it is amazingly simple!

Blazor & Databases Read More »

McAfee Total Protection

So this week I have had very little time, I also reinstalled the computer that I used as I upgraded it with an SSD hard drive (well worth it to be honest – a I’ve found that it seems as if you go from computers being a hobby where you have all the coolest and latest tech; to then working in IT and ending up with some of the oldest hardware going and still getting it to work!)

Anyway, as part of re-installing, I had to re-install McAfee. Then I found that it is blocking random sites in my browser. It really was difficult to find out how to fix the issue, thus this week rather than talk about projects, I thought I would give details on how to fix it and then maybe some other cool bits and pieces.

Total Protection Blocking Websites

So I found that the when you go to a website you get an error similar to this:

Which is a bit annoying. As I had been browsing around the Internet already, it was obvious that this was a problem elsewhere. Thus we need to allow this port / IP address through… so we go into McAfee Total Protection:

So now you need to click “PC Security” then “firewall”

When you have clicked on “Firewall” a window such as the one below will show. You then need to click on the arrow next to “Net Gaurd”

It will expand, and show a list of the blocked items. Click the one you want to “unblock” then then click “edit”

Finally select “Allow this connection for all programs” then click “Apply” and it should now allow it!

Other stuff

There is quite a list of other little bits that I think are worth a shout out!

  1. NotePad++ – if you use notepad, ditch it Notepad++ is so much better, from regular expression searches in file, opened documents and folders to formatting tools and other plugins. When I’m working I probably use it on almost a daily basis!
  2. FontAwesome – Lots of useful icons – which does make it easier to show what someone needs to do in a picture / icon.
  3. Twitter Bootstrap – I’m not great at design, so this at least provides some design consistency (so even if the colours are bleak, or the content is dull at least it looks half decent – which is a really important!

There are many more things hat I think are really useful, but for now they are not coming to mind! Thus on another slow week, I may have to delve into some more of these/ expand on the above.

McAfee Total Protection Read More »

Email

So, this week has been a busy week, and therefore I have not done as much as I would like to have done. The main issue this week has been sending emails. The trouble with async methods is that you can miss errors. For example, I had mistyped the URL to the SMTP server to send the emails. With async methods, you don’t get the error messages as you once did via using non-async methods. You need to sign up to events, so, for example, the SMTP client as a “Send Completed” event. by signing up to this you are able to see the errors which occur when the system is trying to send the email:.

SmtpClient smtpClient = new SmtpClient(SMTPConfig.Value.Host, SMTPConfig.Value.Port);
smtpClient.Credentials = new System.Net.NetworkCredential(SMTPConfig.Value.UserName, SMTPConfig.Value.Password);
smtpClient.EnableSsl = SMTPConfig.Value.EnableSsl;
smtpClient.SendCompleted += SmtpClient_SendCompleted;
smtpClient.SendAsync(mailMessage, null);

The next thing that we also need to consider is the look of the email. There are a couple of things we must take into account:

  1. HTML in emails is a complete mystery, not all tags are supported. Therefore we want to do everything to make it as simple as possible
  2. If we are using URLs in emails, e.g. for images, these cannot be assigned using an IP address, they need to be done through a domain name. – as if we use an IP address, it is more than likely that the email will end up in the junk folder.
  3. We want a template that can be assigned for all emails.

Therefore we will be using some inline CSS, tables and this will all be applied on sending the email, this should eleviate repeated code etc. – Also using divs to lay items out in emails seems to be a big no no.

Email Read More »

Authentication

The standard way in Microsoft Web Applications to authenticate a user is to use Identity Framework. This will be neeeded so that people will be able to login to the site and have their calendars saved. I’ve used Identity framework before, so I wasn’t expecting that muc to be different. Although it wasnt the general setup was.

Rather than trying to add it to an exisiting project, I cheated a little and created a new project, then copied all the items I had changed across to the new project. Obviously I could only do this as I had only just started the project.

For some reason the default user interface is all within a nuget package and you have to use the “scaffold” function to generate the files. To do this you need to right click on the project:

We then get to see the “AddNew Scaffolc Item” screen, we then select “Identity”:

Finally we can then select the files that we need to generate:

Once these are generated we can then start to edit the files. The biggest mistake that I made was that the default layout file isn’t the default for the identity files. This isthe layout.cshtml file. You’ll also need to make sure that in your startup file you change the settings so that it does not use the default UI.

services.AddIdentity<IdentityUser, IdentityRole>((options) =>
{
    options.Stores.MaxLengthForKeys = 128;
    options.SignIn.RequireConfirmedEmail = true;
})
.AddEntityFrameworkStores<ApplicationDbContext>()
.AddDefaultTokenProviders();

services.Configure<IdentityOptions>((options) => {
    options.Password.RequiredLength = 8;
    options.Password.RequireDigit = true;
    options.Password.RequireLowercase = true;
    options.Password.RequireNonAlphanumeric = true;
    options.Password.RequireUppercase = true;
    options.User.RequireUniqueEmail = true;
});

This also took a while to find out, however thankfully stackoverflow came to the rescue. You should also know that when you do not use the “default” settings you also need to specify the Email Service, so that you can send emails etc So You’ll need to register the service and you’ll also need to implement “IEmailSender”.

To start, add this following line into your startup file.

services.AddTransient<IEmailSender, PlingoEmailSender>();

Then you will need to create the IEmailSender. The file for Plingo, looks a little like the folowing:

using Microsoft.AspNetCore.Identity.UI.Services;
using Microsoft.Extensions.Options;
using System.Net.Mail;
using System.Threading.Tasks;
using uk.plingo.shift.blazor.Data.Config;

namespace uk.plingo.shift.blazor.Data
{
    public class PlingoEmailSender : IEmailSender
    {
        private readonly IOptions<SMTPConfig> SMTPConfig;

        public PlingoEmailSender(IOptions<SMTPConfig> config)
        {
            SMTPConfig = config;
        }

        public async Task SendEmailAsync(string email, string subject, string htmlMessage)
        {
            // do nothing at present.

            MailMessage mailMessage = new MailMessage()
            {
                Subject = subject,
                Body = htmlMessage,
                IsBodyHtml = true
            };

            mailMessage.To.Add(new MailAddress(email));
            mailMessage.From = new MailAddress(SMTPConfig.Value.From);

            SmtpClient smtpClient = new SmtpClient(SMTPConfig.Value.Host, SMTPConfig.Value.Port);
            smtpClient.Credentials = new System.Net.NetworkCredential(SMTPConfig.Value.UserName, SMTPConfig.Value.Password);
            smtpClient.EnableSsl = SMTPConfig.Value.EnableSsl;

            smtpClient.SendAsync(mailMessage, null);
        }
    }
}

This then leads us to the next issues. Configuration. in .Net Core you no longer seem to use App.Config, and you cant acccess te settings through:

Settings.Default.Example

So what do you have to do, You use the appsettings.json file. So to start off with, you add your settings in:

{
  "SMTP": {
    "Host": "plingo.uk",
    "From": "[email protected]",
    "Alias": "No Reply",
    "EnableSsl": true,
    "UserName": "[email protected]",
    "Password": "PASSWORD"
  },
}

Then you create a class that is essentially the serialised version:

namespace uk.plingo.shift.blazor.Data.Config
{
    public class SMTPConfig
    {
        public string Host { get; set; }
        public int Port { get; set; }
        public string From { get; set; }
        public string Alias { get; set; }
        public bool EnableSsl { get; set; }
        public string UserName { get; set; }
        public string Password { get; set; }

        public SMTPConfig()
        {
            Port = 587;
        }
    }
}

Then within the Program.cs file you need to tell the web application about the configuration file:

.ConfigureAppConfiguration((hostingContext, config) =>
{
    config.AddJsonFile("appsettings.json", optional: true, reloadOnChange: true);
})
Finally in our startup file we then tell the system which section in the configuration is our settings file:
services.Configure<SMTPConfig>(Configuration.GetSection("SMTP"));

To use this we simply add in the IOptions<SMTPConfig> parameter into the constructor of the files that we want to use it within – and then it should all work.

public PlingoEmailSender(IOptions<SMTPConfig> config)
{
    SMTPConfig = config;
}

This has been a lot of relatively new bits and bobs to work out this week. Its been interesting to work out and see the changes / differences between .NET framework and .NET Core. I really do like the configuration file being JSON, is seems more descriptive then just adding key / values.

Authentication Read More »

Changes

I have bee reading and listening to various things whilst I have had the time recently. One of the podcasts I try to listen to his Hanselminutes. I can’t say I have listened to all, or even more than just a handful, however in episode 719 Scott Hanselman talks about how many podcasts he has done and ow much blogging he has done over the years and how he tries to pace himself. As of this I believe that i want to try and go to one post a week about the progress of my little projects. This is mainly as I have actual paid work, and a family life that I want to try and balance – as well as some down time for myself and some time to do the actual project!

I know it is really early to make this change, but I hope that it will ensure that I actually follow through with my own projects and not get too far off track with them. I also want to ensure I have the time to sit down think things through, do the code then have a few days to think about it – before publishing a post. Although I can edit posts, I don’t want to go back and edit old posts any more than spelling and small mistakes. If I have changed something then I want it showing in the first post…

So what has made me think about this. I have changed the way in which my database session works. I have done this so that I can pass in the database object into the logic object without needing a session. For example:

using System;
using uk.plingo.shift.core.interfaces;
using uk.plingo.shift.logic.utilities;

namespace uk.plingo.shift.logic
{
    public class CalendarLogic : BaseLogic
    {
        public CalendarLogic(IDatabase database) : base(database)
        {
        }

        public void CreateCalendarEvent(string eventName, string eventNotes, DateTime eventDateTime, int eventDuration, int userCreatedId)
        {
            var calendar = CalendarUtility.CreateCalendar(eventName, eventNotes, eventDateTime, eventDuration, userCreatedId);
            Database.CalendarDao.Add(calendar);
        }
    }
}

You can see tht on line 9 within the constructor I have passed in out IDatabase object. From here this is stored in a property, so for example on line 16 I can access it.

However I may not actually want the database to be connected when we create the object. I may want to connect to the database “readonly” before actually opening a “save” connection to the database. Thus I have created an ISession interface:

using System.Collections.Generic;
using uk.plingo.shift.core.interfaces.entities;

namespace uk.plingo.shift.core.interfaces.database
{
    public interface ISession
    {
        public T AddOrUpdate<T>(T item) where T : Entity;

        public IEnumerable<T> CreateQuery<T>() where T : Entity;
    }
}

This just gives us what we should have in each “session” so that we can access the data. Then in our IDatabase, we now require the implementation to include a way to set the session (line 11) and to remove the session (line 12)

using uk.plingo.shift.core.interfaces.data;
using uk.plingo.shift.core.interfaces.database;

namespace uk.plingo.shift.core.interfaces
{
    public interface IDatabase
    {
        public ICalendarDao CalendarDao { get; }
        public IEventTypeDao EventTypeDao { get; }

        public void SetSession(ISession session);
        public void ResetSession();
    }
}

So you can now see in our entity framework session (dbcontext) that we take in an IDatabase and set the session (line 28) and also reset it when we dispose of the EntitySession (line 48)

using System.Collections.Generic;
using System.Data.Entity;
using uk.plingo.shift.core.entities;
using uk.plingo.shift.core.interfaces;
using uk.plingo.shift.core.interfaces.database;
using uk.plingo.shift.core.interfaces.entities;
using uk.plingo.shift.data.entity.mapping;

namespace uk.plingo.shift.data.entity
{
    public class EntitySession : DbContext, ISession
    {
        private IDatabase _dao;

        public enum SessionState
        {
            SaveCanges,
            Readonly
        }

        private readonly SessionState _sessionState;

        public EntitySession(IDatabase daoFactory, SessionState sessionState) : base(nameof(EntitySession))
        {
            _dao = daoFactory;
            _sessionState = sessionState;

            _dao.SetSession(this);
        }

        protected override void OnModelCreating(DbModelBuilder modelBuilder)
        {
            base.OnModelCreating(modelBuilder);

            CalendarMapping.Map(modelBuilder.Entity<Calendar>());
            EventTypeMapping.Map(modelBuilder.Entity<EventType>());
        }

        protected override void Dispose(bool disposing)
        {
            // if we are monitoring changes, then this will
            // allow us to automatically save the changes... as why wouldn't we!
            if (_sessionState == SessionState.SaveCanges)
            {
                SaveChanges();
            }

            _dao.ResetSession();
            _dao = null;

            base.Dispose(disposing);
        }

        public virtual IEnumerable<T> CreateQuery<T>() where T : Entity
        {
            if (_sessionState == SessionState.Readonly)
                return this.Set<T>().AsNoTracking();
            else
                return this.Set<T>();
        }

        public T AddOrUpdate<T>(T item) where T : Entity
        {
            if (_sessionState == SessionState.SaveCanges)
            {
                T foundItem = Set<T>().Find(item.id);
                if (foundItem == null)
                {
                    //INSERT
                    foundItem = Set<T>().Add(item);
                }
                else
                {
                    //UPDATE
                    foundItem = item;
                }

                return foundItem;
            }
            else
            {
                return item;
            }
        }
    }
}

This therefore means that when we want a session we simple can do the following:

using (var db = new EntitySession(database, EntitySession.SessionState.Readonly))
{
    var total = database.CalendarDao.GetAll();
    Console.WriteLine("Total {0} :-)", total.Count());
}

This should mean that we can do everything that we want to – in terms of changing the way that the session runs. It also means that the logic does not need to know anything about the session it should be the user interface that is controlling the session. (mainly as in a Forms app we may have multiple sessions whilst in a website a session may be open for the processing of an entire page).

At somepoint soon I will manage to get this all up on a public repository, so that you can hopefully look through the code for yourself. I just need to decide whether to use BitBucket, GitHub or Visual Studio code to host it all!

Changes Read More »